Manufacturer · Fashion Accessories



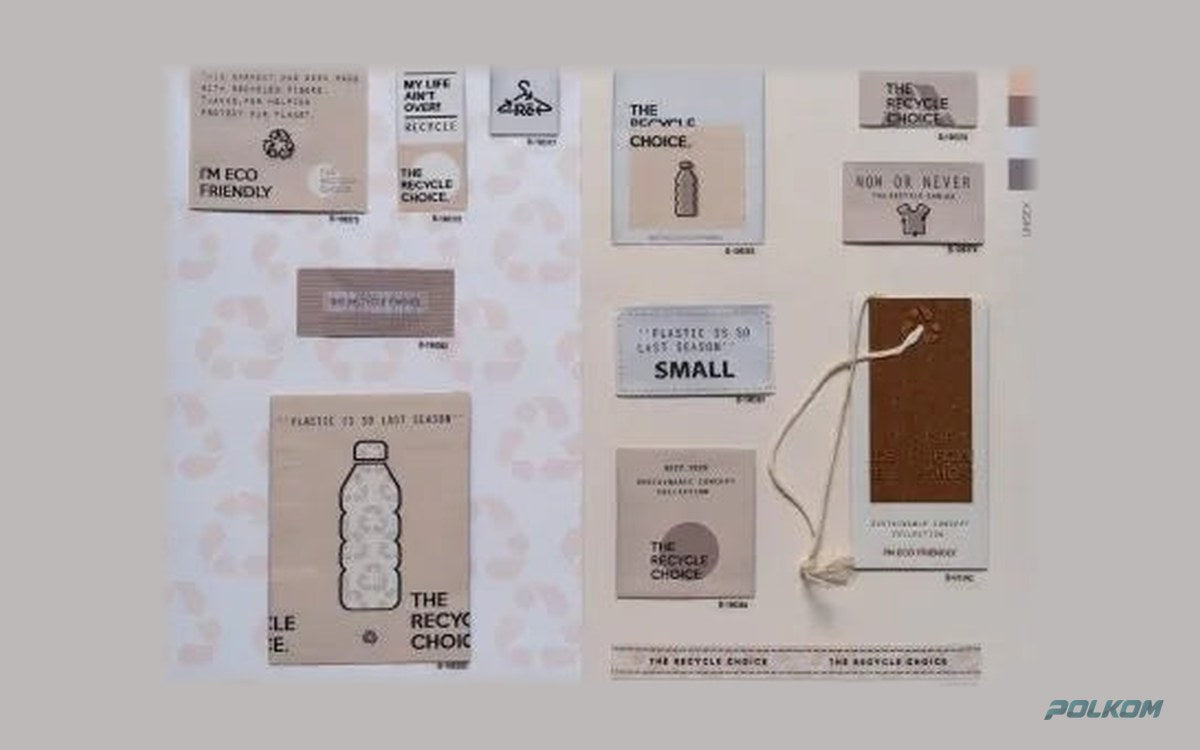
An iron-on woven label has a layer of heat-activated adhesive on the back and is bonded to the garment with heat and pressure – with a heat press or, for small quantities, an iron. It is suitable for fabrics on which a seam would pucker or pierce the material, and for products where you want no visible stitching on the outside. For the best durability, the right temperature, pressure and time are needed, and for very stretchy and delicate fabrics, a preliminary test.
How an iron-on woven label works
The label is woven like an ordinary woven label, and then a layer of heat-seal adhesive is applied to the back. When heated, the adhesive melts and penetrates the structure of the fabric. As it cools, it hardens and bonds the label to the garment. The whole operation takes seconds and does not require a sewing machine.
When to choose heat-seal adhesive
- Thin and slippery fabrics – chiffon, thin polyester, lining fabrics, where a seam puckers.
- Sports and technical garments – where a seam could compromise water resistance or chafe.
- Finished products – when you brand already-sewn garments, T-shirts or bags and do not want to unpick them.
- External labels without visible stitching – for a clean look on a pocket or sleeve.
- Small runs and ateliers – when you do not have a label-sewing machine.
When it is better to sew
- On very stretchy jersey and knitwear – the adhesive stiffens the area.
- On materials that cannot withstand heat – some synthetics, leather, faux leather, velvet.
- On garments that are washed very often at high temperatures or tumble dried.
- On centre-fold labels sewn into a seam – heat-seal adhesive makes no sense there.
How to apply the label – step by step
- Prepare the fabric. It must be clean and dry. If it is new, pre-washing removes the finish that prevents bonding.
- Position the label. Adhesive side to the fabric, face up.
- Cover with a protective sheet. Teflon film or baking paper protects the label and the press platen.
- Heat and press. Follow the temperature, pressure and time recommended for the specific adhesive. With an iron – no steam, firm pressure, without moving the iron.
- Let it cool. Do not touch or bend the label until it has cooled completely – the adhesive hardens as it cools.
- Check the corners. If a corner lifts, press again.
The pressing parameters depend on the type of adhesive and the fabric. The label manufacturer will give you the recommended values; always do a test on a piece of the same fabric.
Heat press or iron
| Criterion | Heat press | Household iron |
|---|---|---|
| Temperature uniformity | high | low, with cooler zones |
| Pressure | controlled and even | depends on the hand |
| Repeatability | excellent for series | difficult |
| Suitable for | production | single pieces and tests |
How well it survives washing
A correctly applied label withstands ordinary home washing. Durability decreases if the adhesive did not reach the required temperature, if the pressure was weak, if the fabric had a finish on it, or if the garment is washed often at high temperatures and tumble dried. Some brands combine heat-seal adhesive with a few decorative stitches at the corners for extra security – that way the label does not shift during sewing and does not peel off over time.
Combination: adhesive plus stitching
In the production of more expensive products, heat-seal adhesive often serves as "temporary fixing": the label is bonded exactly in place and then sewn on. This way it does not shift during sewing and the position is the same on all pieces. For sewing, use polyester thread in the colour of the label – see our sewing threads.
Fabric preparation and positioning in series
In series application, the biggest challenge is the same label position on every piece. Use a template or a mark on the press platen so that the label is always placed at the same distance from the neck or seam. If you are applying labels to finished garments, slip a piece of card or a silicone pad inside the garment so that the adhesive does not stick to the back layer. On garments with seams or buttons close to the label, use a pad that levels the surface, otherwise the pressure will be uneven and the corners will not bond.
Weave type and heat-seal adhesive
Heat-seal adhesive can be applied to damask, satin, taffeta and high-definition labels. With satin, the sheen on the face remains, but the label becomes slightly stiffer. The label must have well-sealed edges, because with heat-seal adhesive it is usually straight-cut and all edges remain visible. Laser cutting allows shaped labels that look almost like a patch.
Common mistakes
- Steam from the iron – moisture interferes with the adhesive.
- Moving the iron while pressing.
- Bending the label before it has cooled.
- Too high a temperature on sensitive synthetics – the fabric shrinks or becomes shiny.
- No test on the same fabric.
Alternatives
If the fabric cannot withstand heat but you do not want visible stitching, consider a small centre-fold label sewn into an existing seam. For information labels on thin fabrics, some brands use printed labels or direct printing. You will find more about the different types of textile labels in our textile labels section.
Heat-seal labels from Polkom
Polkom makes woven labels with heat-seal adhesive to your design and size. As a manufacturer with over 30 years of experience, we will advise you on whether adhesive is suitable for your fabric and make a sample for testing. Send an inquiry.