Manufacturer · Fashion & Home Accessories




Laser engraving on leather marks the logo with a laser beam that vaporises and darkens a thin surface layer of the material. It needs no die, which makes it suitable for fine details, small runs and quick design changes. On genuine leather it gives a natural dark-brown contrast, while on faux leather the result depends on the type of coating and must be checked with a sample.
Laser engraving on leather: how it works
CO2 lasers are most often used for leather. The logo is supplied as a vector or raster file, and the machine guides the beam along the lines (vector engraving) or line by line (raster engraving). The beam heats the surface and burns it to a set depth. Power and speed are adjusted to the material – higher power gives a deeper and darker mark, but also a risk of scorching the edges.
The same machine often cuts out the label shape too. This way the outline and the logo are produced in one operation, with very high positioning accuracy.
Advantages over debossing
- No die – no one-off cost for a block, convenient for small orders and test collections.
- Fine lines – thin outlines, small letters and complex illustrations that would merge with debossing.
- Quick design changes – different lettering, numbers or names in one run without new tooling.
- Complex shapes – the label can be laser-cut to any outline.
- Natural contrast – the darkening of the leather makes the logo visible without ink.
Limitations
- Odour and burn marks – freshly engraved leather has a slight smell that fades; the edges of the engraving may have a slight residue that is cleaned off.
- Faux leather – some PU coatings melt and turn shiny instead of darkening. The result varies by product, so it is always tested.
- Logo colour – the laser does not add colour. You get a tone darker than the leather. On black leather the contrast is minimal.
- Slower on large areas – raster engraving of solid areas takes time; for very large runs with a simple design, debossing may be more efficient.
Which materials are suitable
| Material | Laser result | Note |
|---|---|---|
| Vegetable-tanned genuine leather | Dark brown, clear contrast | The best option for laser |
| Chrome-tanned genuine leather | Darkening, less even | A sample is needed |
| Faux leather (PU) | Varies with the coating – from a light to a dark effect | Some types melt |
| Two-layer faux leather for engraving | The coloured top layer is removed, revealing the one below | Allows contrasting colours, e.g. black/gold |
| Jacron | Darkening, suitable for simple logos | A sample is needed |
Two-layer engraving materials are an interesting alternative when you want a coloured logo without printing – the laser removes the top layer and reveals a contrasting colour underneath.
Preparing the file for laser
- A vector file (AI, EPS, PDF, SVG) for outlines and cutting; for photorealistic engraving, a high-resolution raster.
- Minimum line thickness – about 0.2–0.3 mm at actual size, so they stay visible.
- Put the cut outline and the logo on different layers or in different colours.
- Avoid halftones and gradients if you want a clean, even result.
When to choose laser and when debossing
Choose laser engraving when the logo is detailed, when the run is small or when you have many variants of the lettering. Choose debossing when the design is simpler, the run is large and you want a classic relief you can feel with your fingers. The two techniques can be combined – for example a laser-cut outline and a debossed logo. Another common combination is a debossed main logo and a laser-engraved number or size that changes from label to label.
Personalisation with variable data
One of the laser's greatest strengths is that every label can be different without extra tooling. This opens up possibilities that debossing struggles to offer:
- Numbered labels – limited editions with a serial number ("No. 027 / 300").
- Size or style on each label – without a separate die for each size.
- Names – for corporate orders, team uniforms or gift series.
- Date or season of the collection.
For such orders it is important to supply the data as an organised table – which text, in what quantity – to avoid errors in production.
How to check the quality of the sample
When you receive the sample, look at it in daylight and at an angle. Check that the edges of the engraving are clean, with no melting and no brown residue around the lines. Run a finger over it – the surface should not crumble. Rub the label lightly with a damp cloth to see whether there is any soot residue. If the label will be sewn onto a garment that is washed, wash the sample together with a piece of the fabric.
Laser on other trims too
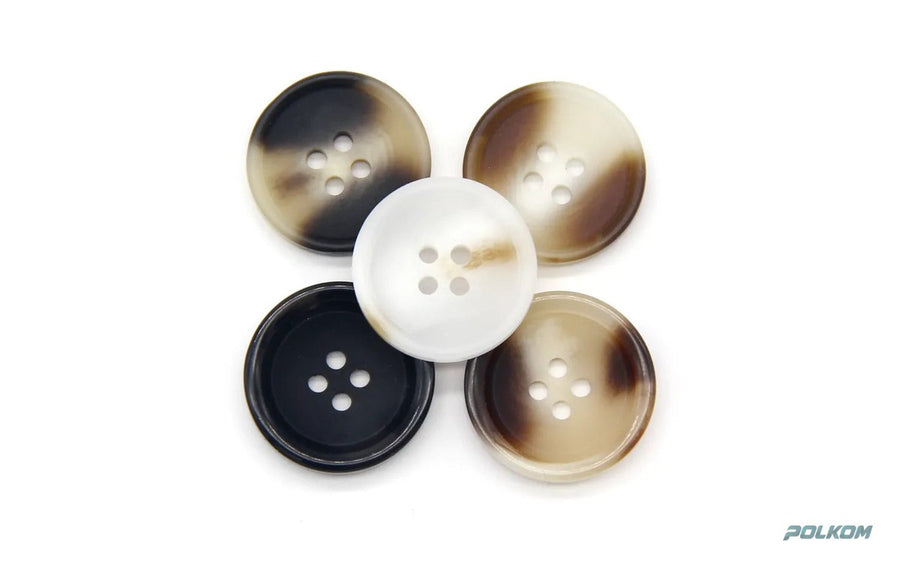
If you use laser marking on leather, you can achieve a unified style on the other details as well – engraved buttons and metal plates with an engraved logo repeat the same graphic language on other materials. This way the label, buttons and plate look like part of one system.
Laser-engraved leather labels from Polkom
Polkom makes leather labels with a laser-engraved logo on genuine and faux leather – rectangular or in any shape. We help you choose the material and prepare a sample so you can see the contrast in person. Send your logo via our contact page.