Manufacturer · Fashion & Home Accessories

A button is sewn on with double thread, passing the needle 6–8 times through the holes, while leaving a small thread “stem” between the button and the fabric, which is then wrapped and secured. With a shank button, the thread passes through the eye of the shank without leaving extra slack. The whole process takes about five minutes and needs no special tools.
How to sew on a button – what you need
Before you start, prepare the things that make sewing quick and secure:
- Needle – medium thickness for shirts and blouses, thicker and longer for coats and denim.
- Thread – polyester or cotton-wrapped polyester; for coats and jackets a stronger button thread is suitable. The colour should match the thread used for the other buttons.
- A matchstick, toothpick or pin – placed between the button and the fabric to leave room for the stem.
- Scissors and tailor’s chalk – to mark the spot opposite the buttonhole.
Cut about 50–60 cm of thread, thread the needle and even up the two ends so you sew with a double strand. Tie a knot at the end.
2-hole button – step by step
- Fasten the garment and mark the spot through the buttonhole with chalk. The button should sit exactly at the end of the buttonhole nearest the garment edge.
- Insert the needle from the wrong side so the knot stays inside. Make one small stitch in place to secure the thread.
- Pass the needle up through the first hole, then down through the second. Lay the stick on top of the button between the holes – the stitches will pass over it.
- Repeat 6–8 times. For shirts, 5–6 passes are enough; coats and trousers need more.
- Remove the stick, pull the button up and wrap the thread 4–5 times around the stitches under the button. This forms the stem.
- Bring the needle to the inside and make 2–3 small stitches in one place, or a knot. Cut the thread.
4-hole button – parallel or crosswise
A four-hole button is sewn the same way, but you have a choice of how the stitches run:
- Two parallel lines (=) – the most common method on shirts and jackets; looks neat and holds well.
- Cross (X) – more decorative, often used on sportswear and childrenswear.
- Square – for buttons that take a heavy load.
It is important that all buttons on one garment are sewn the same way. On factory shirts the stitching is usually parallel, so when replacing a button it is best to repeat it.
How to sew on a shank button
Shank buttons have an eye on the underside – many metal buttons, some blazer and uniform buttons, and fabric-covered buttons are like this. The shank itself creates the necessary distance from the fabric, so a thread stem is not needed.
- Mark the spot and secure the thread on the wrong side.
- Pass through the eye of the shank and back into the fabric with a small stitch parallel to the buttonhole.
- Repeat 5–6 times, keeping the shank upright.
- Secure on the inside with a few small stitches.
If the shank is shorter than the fabric is thick, the button will strain the buttonhole. In that case leave a tiny bit of slack and wrap the thread once or twice around the base.
How to sew a button on a coat or trousers
Coat and jacket
With thick fabrics the stem needs to be taller – roughly as tall as the fabric at the buttonhole is thick. Use two sticks or a thicker needle as a spacer. It is also advisable to sew a small backing button on the wrong side: the stitches pass through both the large and the small button at once, so the load is taken by the backing button, not the fabric. This protects wool and cashmere fabrics from tearing.
Trousers
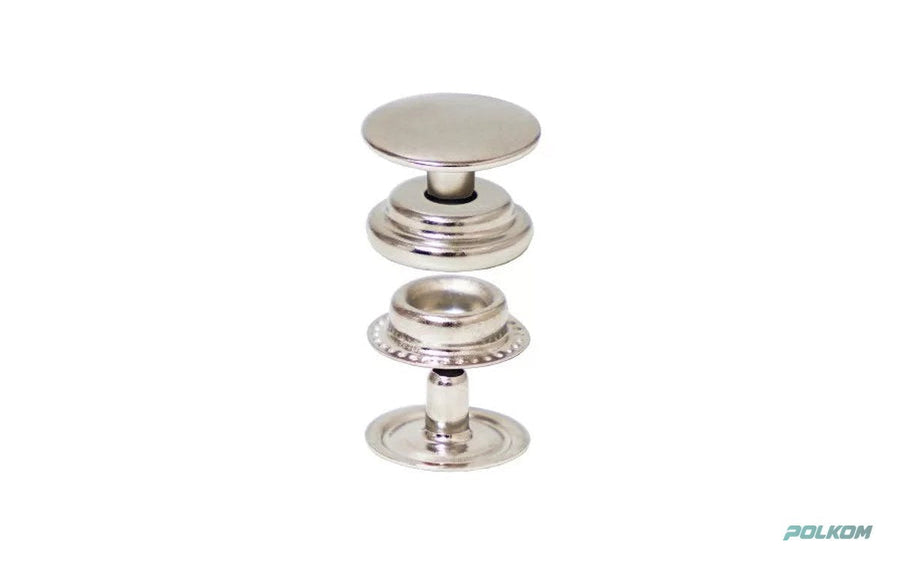
The waistband button is the most stressed on the whole garment. Sew with stronger thread, make more passes and secure the knot very well. If the fabric is thin, place a piece of fusible interfacing or a small backing button inside. Jeans usually do not have a sewn button but a metal button attached with a press.
The most common mistakes
- The button is sewn tight against the fabric – the garment is hard to fasten and the buttonhole stretches.
- Too few passes – the button works loose after a few washes.
- The knot is on the front – it looks sloppy and comes undone.
- Inaccurate position – the fabric puckers or gapes when fastened.
- Thread too long – it tangles; better to thread a new length.
Hand or machine sewing in production
In garment factories, buttons are sewn with button-sewing machines that make a chain stitch or lockstitch and can form a stem. Machine sewing is fast and consistent, but with chain stitch it is important that the end is well secured, otherwise it can unravel. Hand sewing remains the standard on high-end jackets and coats, where the stem is formed by hand.
When choosing a model for mass production, also think about sewing: four-hole buttons with a well-defined rim are easier for the machine to handle, and polyester buttons of uniform thickness speed up the process.
Polkom – buttons and button attaching for manufacturers
Polkom is a Bulgarian manufacturer of buttons for clothing and sewing accessories, headquartered in Sofia. Besides more than 10,000 articles, we offer a service for attaching buttons, zips and accessories, sample making and buttons with your logo. Send us an inquiry with the garment style, and we will suggest the right type, size and attachment method.