Manufacturer · Fashion & Home Accessories


The right rivet setting tool depends on volume: for single pieces a hand kit with an anvil and punch is enough, for an atelier a manual bench press, and for series production a foot-pedal, pneumatic or automatic press with feeding. In every case you need a die that exactly matches the rivet model and diameter.
Types of rivet setting tools
Hand kit with a hammer
It consists of a small anvil with a recess for the cap and a punch that you strike. It suits repairs, one-off items and hobby use. The drawback is that the force of the blow and the centring depend entirely on your hand – it is hard to get consistent results, and an inaccurate strike scratches the cap or sets it crooked.
Pliers
Some pliers for snap buttons and eyelets have interchangeable tips that also take small rivets. They are handy for thin materials, but their force is limited – with multi-layer denim or leather they often fall short.
Manual bench press
The most common tool in ateliers and small workshops. The press is fixed to the table, the dies are changed according to the model, and the pressure is even and repeatable. It suits small and medium runs.
Foot-pedal and pneumatic press
These free the operator’s hands: the piece is positioned with both hands and the press is triggered by a pedal. Pneumatic models deliver constant force and high speed, which makes them the standard in denim and workwear production.
Automatic press with feeding
Caps and bases are fed from vibratory hoppers directly to the die. The operator only positions the fabric. This solution is justified for large, steady volumes of a single rivet model.
Quick comparison
| Tool | Suitable for | Repeatability |
|---|---|---|
| Hand kit | Repairs, single pieces | Low |
| Pliers | Thin fabrics, small rivets | Medium |
| Manual bench press | Ateliers, small runs | Good |
| Pedal / pneumatic press | Series production | Very good |
| Automatic press | Large steady volumes | Excellent |
The die – the most important part of a rivet setting tool
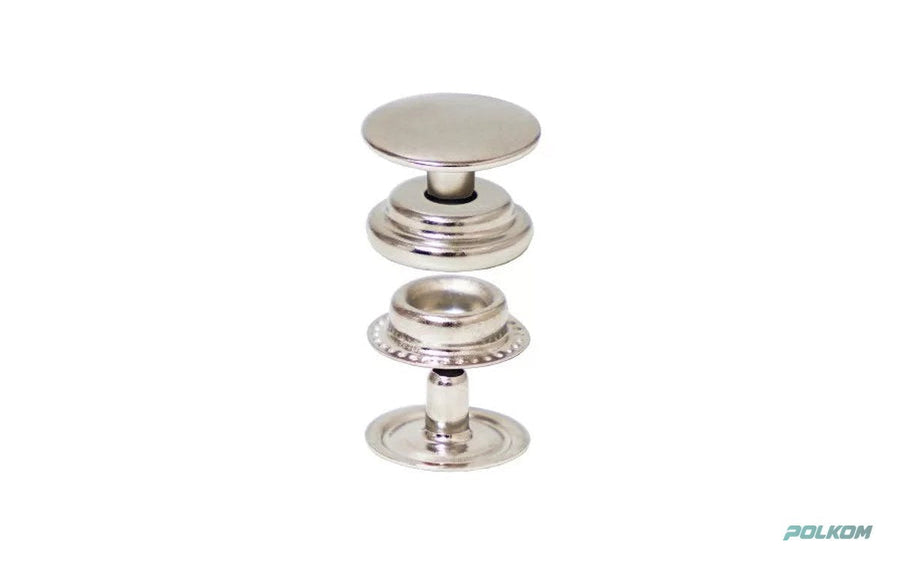
The press provides the force, but the die determines the result. It consists of an upper part, which holds the cap, and a lower part, which holds the base with the pin. The die must match:
- the diameter and profile of the cap – flat, domed, rimmed;
- the pin type – pointed or flat;
- the rivet type – single-sided or double-sided;
- the logo relief – with branded caps the die must not press on the relief.
An unsuitable die causes most defects: scratched finish, crushed cap, a pin that bends sideways, or a rivet that spins. So whenever you change supplier or model, always check that the die fits.
How to choose a rivet setting tool
- Determine the volume. How many rivets a day and a week will you set? This decides whether pneumatics are worthwhile.
- Determine the materials. Denim, leather and canvas need more force than thin fabrics.
- Check the rivet models. If you work with several models, choose a press with quick die changes.
- Think about ergonomics. On long shifts, a pedal or pneumatic press reduces fatigue and rejects.
- Test with real rivets. Ask the rivet supplier for samples and run a trial on your machine.
The tool and the rivet material
Soft aluminium sets with less force but is also crushed more easily, so pressure must be adjusted carefully. Copper and brass are harder and need a sturdier press, especially with thick bundles of denim. If you combine rivets and metal buttons on one garment, check whether both can be set on the same press with just a die change – this simplifies line organisation.
Maintaining the press and dies
Clean dust, fibres and finish residue from the dies – they print onto the caps. Check the alignment of the upper and lower parts, especially after a knock or a change. Store dies in separate boxes labelled with the rivet model so they do not get mixed up. Replace a worn die in time: it causes uneven setting that only becomes apparent after the finished garment is washed.
Tools for double-sided rivets and leather
Double-sided rivets, used on bags, belts and straps, have a cap on both sides of the material. They need dies with a recess in both the upper and lower parts, otherwise one cap gets flattened. With leather, the hole must always be pre-punched with a hole punch or revolving punch pliers of the exact diameter. For thick belts and straps, choose a rivet with a longer pin and check that the press has enough stroke and force – with insufficient pressure the rivet loosens the first time the leather bends.
When it is time to change your tool
There are several clear signs that your current tool is no longer suitable:
- the reject rate is rising although the rivets and fabric are the same;
- operators complain of fatigue on long runs;
- you start working with thicker materials or new rivet models;
- caps come out with identical scratches, pointing to a worn die;
- volumes grow and the manual operation becomes a bottleneck in production.
Sometimes you do not need a new press, just a new or more accurate die. Before investing, run a test with samples of the rivets you will use.
Rivets compatible with your equipment
In the rivets category you will find models for denim, workwear and bags in various finishes. Polkom is a manufacturer with over 30 years of experience – we can send you samples to test setting on your press and produce rivets with your logo. Send an inquiry via the contact page.