Manufacturer · Fashion & Home Accessories
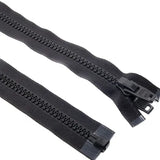
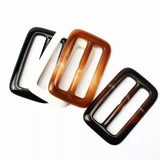
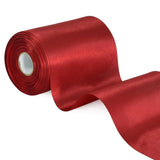
Custom logo trims for a small brand do not mean everything made to order from day one. The smartest start is to use standard buttons, zips and haberdashery from stock and brand only one or two details – usually the main brand label and the hang tag. As sales grow, you add logo buttons, a leather patch and branded zip pullers until you have a fully custom trim package. At Polkom, the minimum order for a logo accessory is generally 1,000 pcs per model, a sample costs around 50–100 €, and production takes 10–20 days.
Why not everything has to be custom
A new clothing brand has three constraints: small quantities per style, uncertain sales and many decisions being made for the first time. Fully custom trims need moulds, colour lab dips and minimum runs for every item. If you spend the budget there, less is left for fabric, sewing and marketing. Standard stock items solve these problems: availability, fast samples and the option of a small order. The customer will never notice that the sleeve button is standard – but they will remember the label with your name.
Minimum quantities, samples and lead times – in concrete terms
These are the terms to plan your first collection around:
- Minimum order: generally 1,000 pcs per model. For some models, especially buttons, the minimum is higher, because the machine is set up for every size, colour and logo.
- Sample: depends on the product and usually costs around 50–100 €. With laser engraving and printing the sample is fastest, because no tooling is made.
- Lead time: 10–20 days of series production after sample approval.
- Logo file: we accept any format, but PDF or vector is best.
How to reach the minimum with a small collection
- Use one logo and one trim design across several styles – the brand label is the same for the whole collection.
- Combine sizes – for example 24L and 32L buttons with one logo in a single order.
- Order for two seasons the trims that do not depend on the season: brand label, hang tag, leather patch.
- Mix standard and branded – the logo only on visible details, standard items inside.
- Where your quantity is below the minimum, take standard stock items in your brand colour.
Stage 1: the branding that is seen most
In the first collection, invest in two details that carry the brand name:
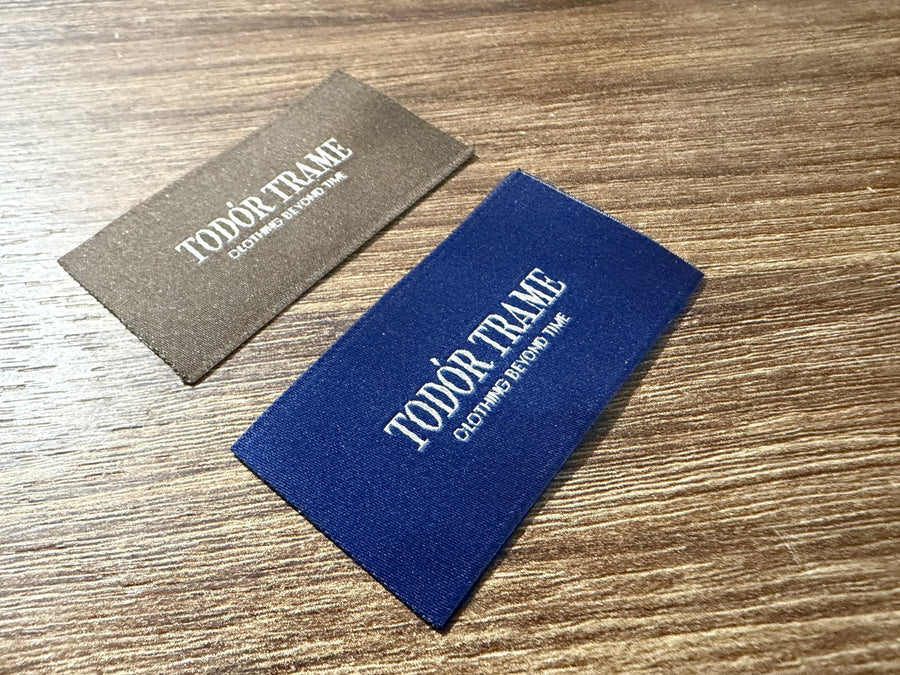
- Main brand label. A woven label is the classic choice – the woven-in logo is durable and looks professional. See the options among our woven labels. If you want a softer and more affordable start, a printed satin label works well.
- Cardboard hang tag. It sells the garment on the rail: logo, brand story, price and size. One format for all styles keeps costs low. Lamination and foil can come later.
Add a care label with the composition and care symbols – it is mandatory, and the printed version is affordable. Custom clothing labels are usually also the most accessible entry point into branding, because they need no mould.
Stage 2: logo buttons and leather labels
Once you have a style that sells well, move on to a second round of branding.
Buttons with your logo
The easiest entry is laser engraving on a standard button – all you need is a logo file, and there is no mould. This works well on corozo, wood, bone and polyester. A raised logo on a metal button needs a mould and pays off on larger, repeating runs. You will see examples among our engraved buttons.
Custom leather labels
A leather patch on the waistband of jeans, the back of a jacket or a bag immediately lifts the perceived value. Blind debossing is the simplest solution, while laser engraving allows fine detail. You can choose between genuine and faux leather depending on your brand positioning.
Stage 3: a fully custom logo trim package
When the brand has steady bestsellers and repeat orders, you can build your own trim package:
- metal buttons or snap buttons with a raised logo on the cap;
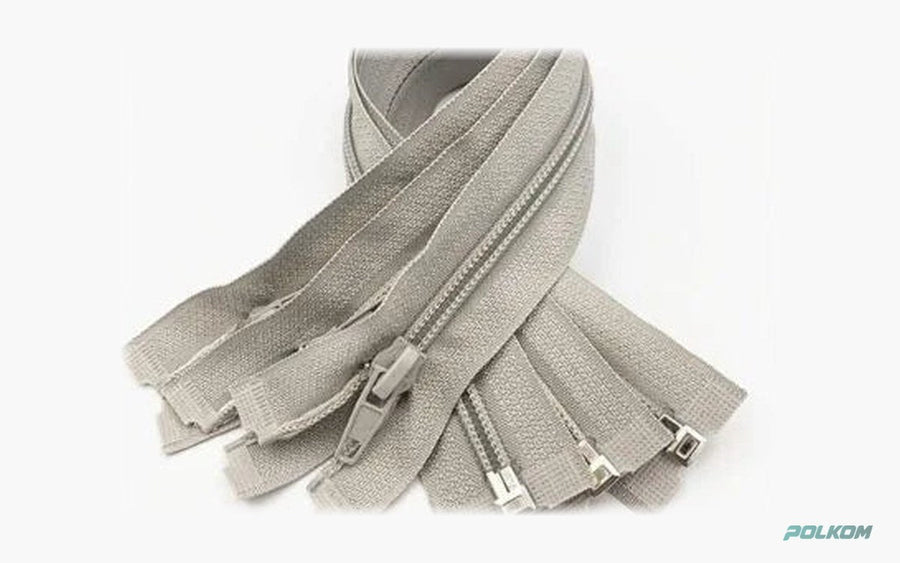
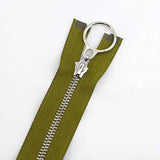
- zip sliders and pullers with the brand logo;
- jacquard elastic with a woven name for underwear or sportswear;
- printed tape or logo ribbon for hangers and packaging;
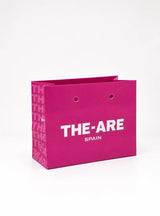
- branded packaging – boxes, bags, tissue paper.
At this stage the mould is no longer a cost but an investment that is used in every following collection.
| Accessory | Logo technique | First-order approach |
|---|---|---|
| Brand label | Weaving or printing | One label for the whole collection |
| Hang tag | Printing, foil | One format, price on a sticker |
| Buttons | Laser engraving | Standard button with engraved logo |
| Leather label | Debossing, engraving | One shape for denim and jackets |
| Metal buttons, snaps | Raised logo with a die | Once the style is established |
| Sliders, pullers, elastic | Die-casting, jacquard | Growth stage |
How to choose standard items smartly
Standard trims can also build a brand look if they are consistent:
- pick one metal colour – for example antique brass or black – and use it for buttons, eyelets, zips and buckles;
- choose two or three button sizes that repeat throughout the collection;
- use the same items across several styles to pool quantities;
- record the code of every approved item so you can reorder it without searching.
Then, when the time comes for logo trims, you simply brand the models you already know, and the brand's look does not change.
How much to order for the first collection
For standard items, order according to the number of garments plus a reserve for waste during attaching and for after-sales repairs – a missing button on a returned garment needs a replacement. For branded items, think two collections ahead: the brand label does not depend on the season, so a larger quantity lowers the unit price and does not go unused. Print hang tags without the price and add a sticker, so you do not scrap a print run when something changes. Order logo buttons in a colour that works with several fabrics, such as black, navy or a natural tone.
The most common mistakes small brands make
- Logo everywhere. A logo on every button, zip and eyelet looks overdone and makes the start more expensive.
- Too many label designs. A separate label for every product increases preparation and reduces the run size.
- No sample. A logo looks different on a 15 mm button than on screen. Always approve a physical sample.
- The wrong file. PDF or vector is best; a raster logo often loses detail in engraving and weaving.
- Ordering late. Custom trims are planned before cutting, not after – allow time for the sample and 10–20 days for production.
Polkom – a manufacturer that grows with your brand
Polkom is a manufacturer of accessories for fashion, footwear and bags, for perfumes and cosmetics, packaging and furniture accessories, with over 30 years of experience and based in Sofia. We work with small brands and large manufacturers alike: from standard accessories from stock to fully custom logo designs. All products are OEKO-TEX® certified and metal products are nickel-free. Send your logo and your idea through the inquiry form – we will suggest a suitable start and samples. Learn more about our capabilities on the branding page.