Manufacturer · Fashion & Home Accessories


Hand sewing leather is done with waxed thread, two blunt needles, and pre-punched holes along a marked seam line. Unlike fabric, leather is not pierced by the needle; holes are made with a punch (pricking iron) or awl, and the stitch used is usually a saddle stitch. This creates a seam stronger than machine stitching that won’t unravel even if one stitch breaks.
Why hand sew leather
Machines are faster, but hand stitching has advantages that leather goods brands still value today:
- Durability. In saddle stitching, each hole is secured by two threads. If one breaks, the seam does not come undone.
- Thick materials. Hand sewing can handle layers that many machines cannot.
- Appearance. The angled, even hand stitch is a hallmark of craftsmanship.
- Small batches. For samples, prototypes and limited runs, no expensive specialized machine is needed.
Tools for hand sewing leather
| Tool | Purpose |
|---|---|
| Knife or craft knife, ruler | Cutting details according to the pattern |
| Divider (spacing tool) | Marking the seam line at an even distance from the edge |
| Groover | Carves a channel where the thread lies protected from abrasion |
| Pricking iron (punch with teeth) | Punching holes at regular intervals, with 1, 2, 4 or more teeth |
| Awl with diamond-shaped blade | Punching holes in difficult spots and curves |
| Rubber or polyamide mallet | Striking the punch without damaging the teeth |
| Two blunt leather needles | Passing the thread through the pre-made holes |
| Clamping tool | Holds pieces steady, freeing your hands |
| Edge beveler, sandpaper, edge finishing products | Processing and polishing edges |
Thread for hand sewing leather
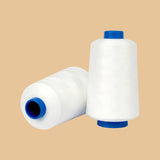
Waxed thread is used for hand sewing – most often polyester, less commonly linen. The wax keeps the stitch tight and protects the thread from fraying. Thickness is chosen according to the leather and punch spacing: 0.45–0.55 mm for wallets and small cases, 0.65–0.8 mm for bags, and 1.0–1.2 mm for belts and heavy items. Machine-bonded thread is slippery and harder to tighten by hand, so it is not the first choice.
Preparing the details
- Cutting. Cut the pieces according to the pattern with a sharp knife. Uneven edges will show after sewing.
- Thinning. At folds and overlaps, thin the leather edges to avoid overly thick seams.
- Gluing. Pre-glue the edges with suitable leather adhesive to keep layers from shifting when punching holes.
- Marking. Use the divider to draw a line 3–5 mm from the edge depending on the item size. For heavy items, the distance is larger.
- Channel. For items with heavy wear, like belts and soles, cut a channel so the thread sinks below the surface.
Punching the holes
Place the leather on a rubber or polyethylene pad. Hold the punch perpendicular to the leather and strike with the mallet until the teeth come through the other side. When continuing the row, place the first tooth in the last punched hole to keep spacing even. For curves, use a two-tooth punch or awl. Plan holes so one is exactly at each corner tip.
The punch spacing determines the stitch type. Punches with 2.7–3 mm spacing create fine stitches for wallets and small goods, while 3.85–4 mm spacing produces heavier stitches for bags and belts. The angled teeth of the French-style punch create the characteristic slanted stitch.
The stitching itself
The most common hand stitch is the saddle stitch: the thread has a needle at each end, and both needles pass through each hole from opposite sides. It is important the needle order is consistent for every stitch and the tension is even. We describe the detailed step-by-step technique, including how to start and finish the stitch, in a separate article about saddle stitching.
Finishing the edges
After sewing, edges are evened and treated. Sharp corners are beveled with an edge beveler, edges are sanded with progressively finer sandpaper, then polished with water, edge finishing products or wax by rubbing with a wooden tool. Chrome-tanned leather edges are usually painted with edge paint because they do not polish well. Well-finished edges are a quality sign as important as even stitching.
Hand sewing leather in small production
When a workshop moves from single pieces to series, hand sewing can remain efficient with a few simple rules. Use hard material templates so all pieces are identical. Mark and punch holes in several pieces at once before sewing. Pre-measure thread lengths for each seam and prepare threaded needles for the whole day. Order thread in sufficient quantity for the entire series to avoid shade differences between first and last pieces. Some brands combine machine structural seams with hand decorative stitches in visible areas.
Metal accessories and branding
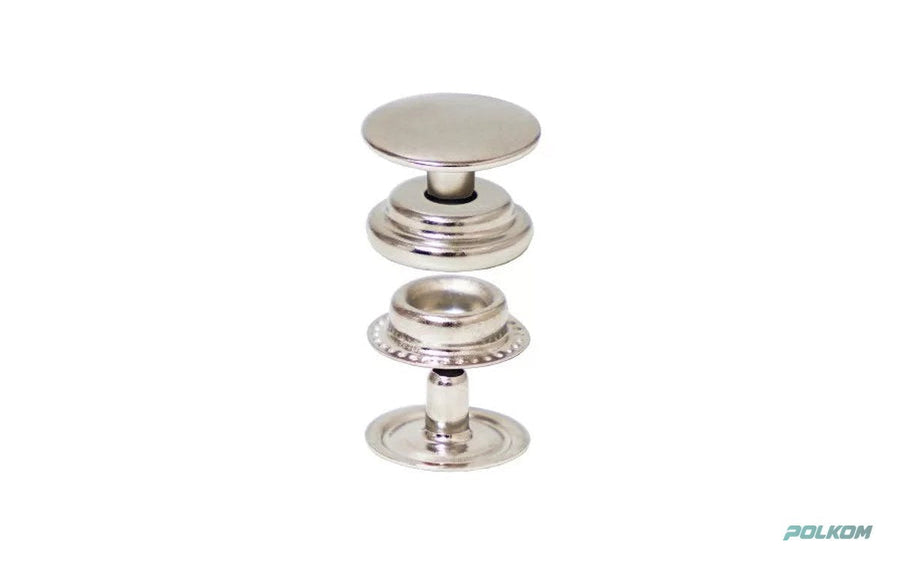
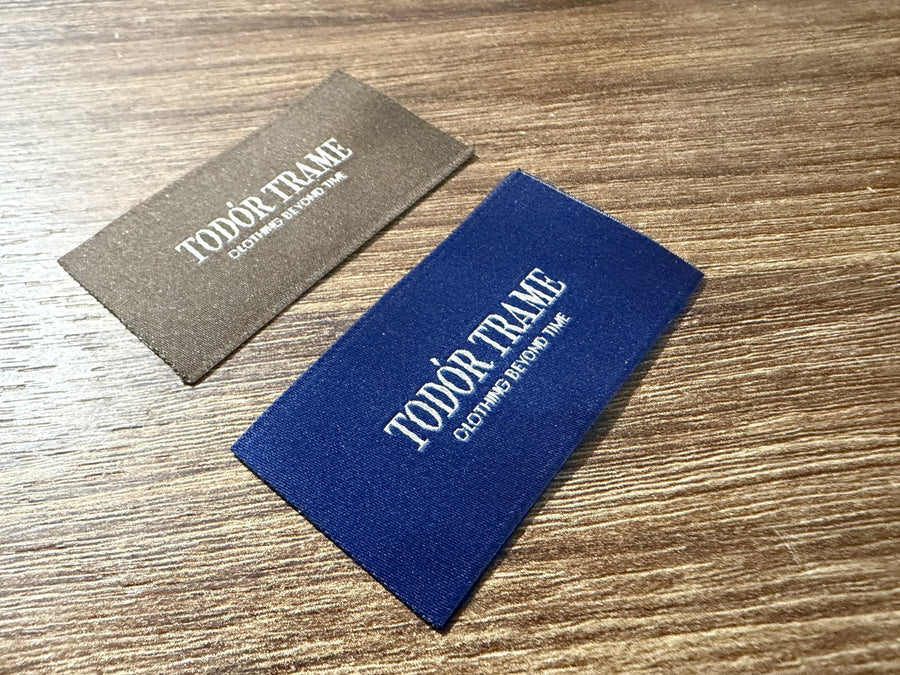
For bags and belts, high-stress areas – handles, rings, fasteners – are reinforced not only with stitching but also with rivets. If you make products under your brand, add a leather label with an embossed logo, sewn or riveted in a visible place.
Waxed threads and consumables from Polkom
Polkom manufactures wholesale waxed threads for hand and machine leather sewing in the threads for shoes and leather category, as well as accessories and labels for leather goods. Workshops and brands can request samples in various thicknesses and colours. Contact us via the contact page.