Manufacturer · Fashion & Home Accessories


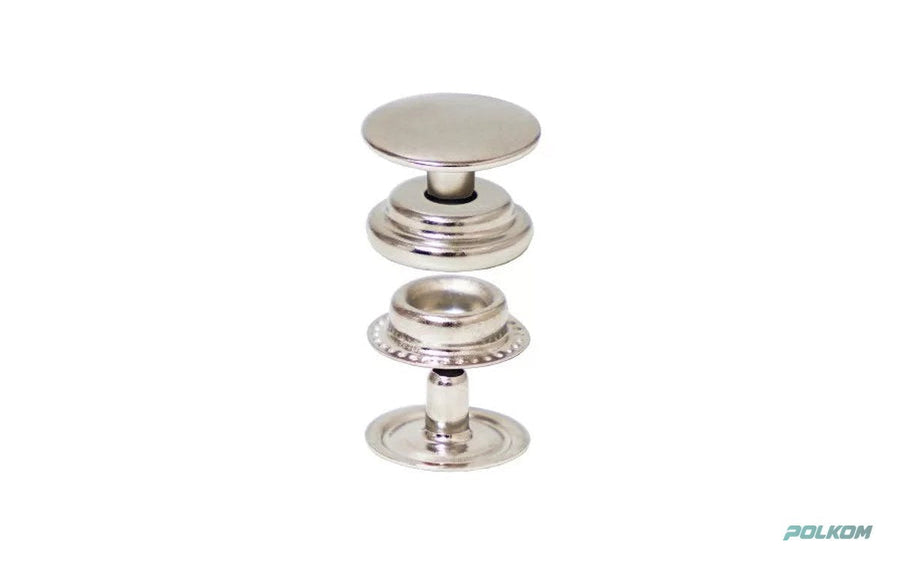
Replacing a trouser hook and bar takes three steps: remove the old hook and bar (a sew-on one is unpicked, while on a press-on one the prongs on the inside are carefully bent open), reinforce the waistband if the fabric is torn, and fit a new hook and bar – most easily a sew-on one, as it does not require a press. If the waistband is closed and the press-on hook has gripped all the layers, it is sometimes more practical to sew the new hook right next to the old position.
When a hook and bar needs replacing
- The hook is bent and does not catch, or comes undone by itself.
- The hook and bar has torn off together with a piece of fabric.
- The prongs of a press-on hook have loosened and it rotates.
- The finish is worn and the metal leaves marks on the fabric.
- The trousers are being taken in or let out at the waist and the hook and bar has to be moved.
First: can the hook be repaired
If the hook is only slightly bent, it is sometimes enough to straighten it carefully with flat pliers, placing a piece of fabric underneath so as not to scratch the finish. If, however, the metal is cracked or has been bent repeatedly, it will break again – replace the hook and bar. A loose press-on hook cannot be reliably repaired by extra pressing without a die.
What you need
- a new sew-on hook and bar of a suitable size;
- a seam ripper;
- small flat pliers and a small screwdriver (for press-on hooks);
- strong polyester thread and a needle;
- a piece of interfacing or strong fabric for reinforcement;
- an iron.
For repairs, choose a strong sewing thread in the colour of the fabric.
Replacing a hook and bar – step by step
Step 1. Remove the old sew-on hook and bar
Carefully cut the threads under each hole with the seam ripper or small scissors and remove the hook. Pull out the remaining thread with tweezers so the surface is clean.
Step 2. Remove the old press-on hook and bar
On the inside of the waistband, find the backing plate. With a small screwdriver or flat pliers, carefully bend the prongs open one by one until the backing plate comes free. Remove the hook from the right side. Work slowly – the prongs can tear the fabric if pulled sharply. If the backing plate is hidden between the closed layers of the waistband, you may need to unpick a small section of the waistband seam.
Step 3. Assess the fabric
After removal, holes from the prongs or threads will remain. If the fabric is sound, the new hook can cover the old holes. If it is torn, reinforce it.
Step 4. Reinforce the waistband
Cut a piece of fusible interfacing slightly larger than the base of the hook and fuse it on the inside, if you have access between the layers. If you do not, sew a small piece of strong fabric on the inside with a few stitches. That way the new hook will sit on a firm base.
Step 5. Fit the new hook and bar
Position the hook on the inside of the upper end of the waistband, close to the edge, and sew it on with double thread through all the holes, without going through to the right side. Fasten it and mark the position of the bar, then sew the bar on. Check that the waistband is level and the zip is not under strain.
Sew-on or press-on hook and bar for repairs
| Sew-on | Press-on | |
|---|---|---|
| Equipment needed | Needle and thread | Press and die |
| Access to the inside | Not needed | Often needed |
| Suitable for home use | Yes | No |
| Suitable for an atelier | Yes | If the atelier has a press |
| Can cover old holes | Yes, easy to position | Depends on the placement |
For almost all repairs a sew-on hook and bar is the better choice. It allows fine adjustment of the position and does not require unpicking the waistband.
Moving a hook and bar when taking in or letting out
If the waistband is being taken in, the bar is moved inwards to increase the overlap. If it is being let out – further outwards. The hook usually stays in place at the upper end. When letting out by more than a centimetre or two, it may be better to use an adjustable hook and bar with several positions or to add a waistband extension.
How to choose the new hook and bar
Ideally the new hook and bar should be the same size and shape as the old one. Take the old one with you when buying or compare it with samples. If the old one is lost, go by the width of the waistband and the marks it left on the fabric. Pay attention to the colour too: on dark fabrics choose a black hook and bar so it does not show through, and on light ones – silver. If the hook tore off because it was too small for the load, now is the time to fit a larger or plate-type model. On trousers that are washed often, prefer brass or a hook and bar with a durable finish so that rust stains do not appear around the new spot.
Tips for repair ateliers
- Keep sew-on hooks and bars in stock in two or three sizes and in silver and black.
- Have small pieces of interfacing and strong fabric for reinforcement.
- Offer the customer a replacement of the inside button too if it is loose – the two usually wear out together.
- Check the zip as well: if the hook and bar has been torn off, the top end of the zip has often been damaged too.
You will find other useful consumables for an atelier in the haberdashery category.
Common mistakes when replacing
- Pulling a press-on hook sharply, which tears the waistband.
- Fitting a new hook and bar on torn fabric without reinforcement.
- A hook and bar of a different size from the original, which does not match the overlap.
- Thread that goes through to the right side of the waistband.
See the sew-on models in the trouser hooks and bars category.
Wholesale trouser hooks and bars for ateliers from Polkom
As a manufacturer, Polkom delivers trouser hooks and bars and garment accessories to repair ateliers, garment factories and traders across the EU. We keep large stock and send samples quickly. Send an inquiry with the types and quantities you need via the contact form.