 Manufacturer · Fashion & Home Accessories



Contents
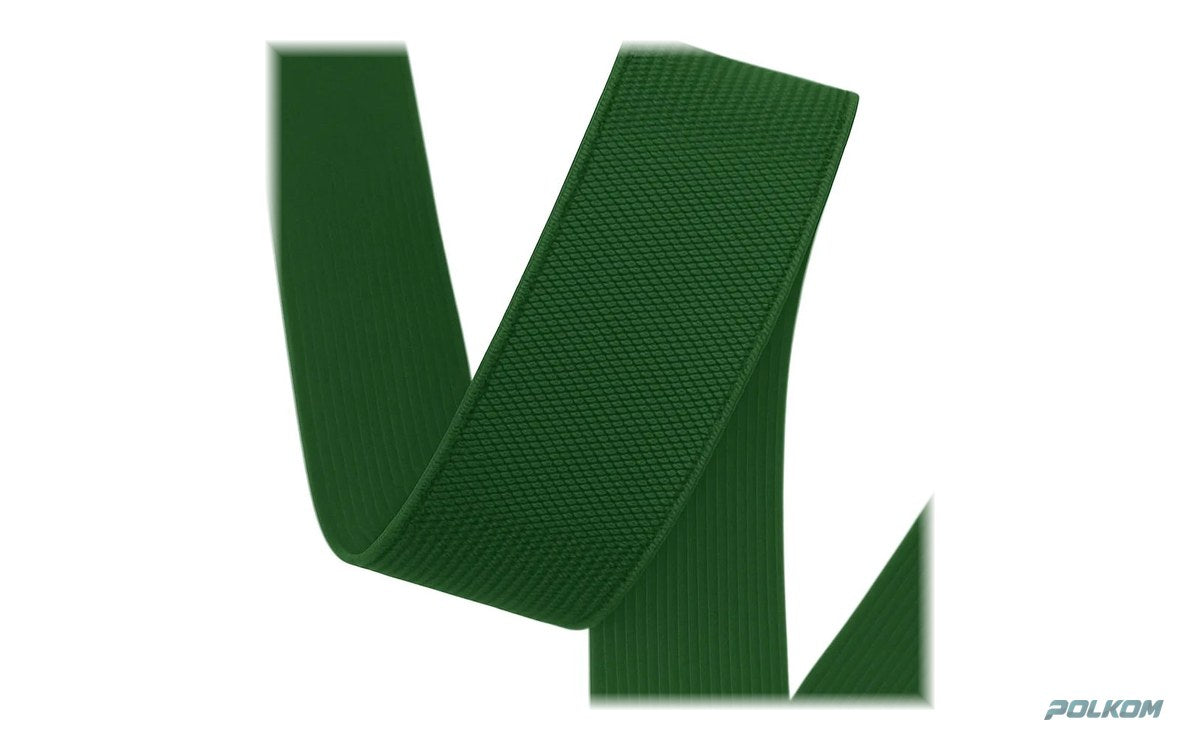
How do you sew elastic into a waistband? There are two main ways: it is threaded through a previously sewn casing, or it is sewn directly to the top edge of the garment under tension and then turned to the inside. In both cases you first work out the length of the elastic, join the ends flat and distribute the gathers evenly around the waist.
What you need
- elastic of a suitable width – for most waistbands a firm woven elastic that does not roll;
- a sewing machine with stretch zigzag, an overlocker or a coverstitch machine;
- a jersey or stretch needle, size 80–90 depending on the fabric;
- polyester sewing thread – it has some stretch and does not snap when stretched;
- a safety pin for threading the elastic, pins or clips, a tape measure.
You will find suitable thread in the threads category.
How to calculate the length of the elastic
The elastic is cut shorter than the waist measurement so that it fits snugly. The exact length depends on the stretch of the particular elastic, so the most reliable method is the practical one:
- Wrap the elastic around the waist (or a dress form) with light tension, so that it is comfortable and holds.
- Mark the length and add about 2 cm for overlapping the ends.
- Check that the elastic, when stretched, passes over the hips – otherwise the garment cannot be put on.
- For series production, determine the elastic-to-waist ratio for the base size and grade proportionally.
Do not transfer lengths from one type of elastic to another – woven elastic usually has a stronger pull than knitted elastic and may need a slightly longer piece.
How to sew elastic into a waistband casing
This is the simplest and most common method for joggers, pyjamas, skirts and children’s trousers.
Step 1: Prepare the casing
Turn the top edge of the garment to the inside twice (or once if the edge is overlocked). The width of the casing should be 3–5 mm greater than the width of the elastic. Stitch close to the lower edge of the turning, leaving an opening of about 4–5 cm, for example at the centre back seam.
Step 2: Thread the elastic
Attach a safety pin to one end of the elastic and work it through the casing. Pin the other end on the outside so that it does not slip inside. Make sure the elastic does not twist on the way.
Step 3: Join the ends
Overlap the ends by about 2 cm and sew them with a box-and-cross stitch or several rows of zigzag. Do not sew the ends right sides together like an ordinary seam – that creates a hard lump that can be felt when wearing.
Step 4: Close the casing and distribute the gathers
Pull the elastic inside, distribute the gathers evenly and stitch the opening closed while stretching the fabric. Finally, stitch vertically through the casing and the elastic at the side seams so that it does not slide or turn.
Sewing the elastic directly to the edge
This method is used in series production of sportswear, leggings, underwear and knitwear. The waistband is more stable and quicker to sew.
- Join the elastic into a loop and divide it into four equal parts with a marker. Do the same with the top edge of the garment.
- Place the elastic on the wrong side along the edge, matching the marks.
- Sew with an overlocker or zigzag, stretching the elastic evenly to the length of the fabric between the marks. Do not stretch the fabric.
- Turn the elastic to the inside so that it is wrapped in the fabric.
- Topstitch from the right side with a coverstitch or a wide zigzag, again under tension.
Machine settings
| Parameter | Recommendation |
|---|---|
| Needle | Jersey or stretch, 80–90 |
| Stitch | Stretch zigzag, coverstitch or overlock |
| Stitch length | Slightly longer than usual |
| Thread | Polyester sewing thread |
| Presser foot | Reduced pressure for firm elastic |
The most common mistakes
- Straight stitch through stretched elastic – the thread breaks at the first stretch.
- Casing too wide – the elastic turns and rolls.
- Uneven tension – the waistband gathers more in one place.
- Blunt or ordinary needle – it pierces and cuts the elastic strands, and the elastic loses its strength.
- Soft elastic in heavy fabric – the waistband drops after a few washes.
Elastic in several casings
For “smocked” or “paperbag” waistbands, several narrow elastics are used instead of one wide one, each in its own casing. Sew parallel lines through both layers of the turning at equal distances, slightly wider than the elastic, and thread each elastic separately. Cut them to the same length so that the gathering is even, and secure them together at the side seams. This technique gives a decorative, gathered waist and spreads the pressure over a larger area.
Checking the finished waistband
- stretch the waistband to the maximum – the stitches must not pop;
- check that the garment passes over the hips when putting it on;
- inspect the gathers – they should be even all the way round;
- wash the sample garment and check that the elastic has not twisted.
Tips for a professional result
With wide elastic (over 35 mm), add two or three parallel rows of stitching through the casing and the elastic, while stretching. This keeps the waistband flat and stops it rolling. On a visible waistband, use thread in the colour of the elastic. For more types of tapes for edges and cuffs, browse the elastics section.
Elastic for your production
Polkom manufactures and supplies woven elastic in various widths and stretch levels, colour-matched to a sample and as jacquard elastic with a logo, to garment factories and brands across the EU. Send us a description of the garment via the contact page and we will suggest a suitable elastic and send samples.
Share this article


