Manufacturer · Fashion & Home Accessories





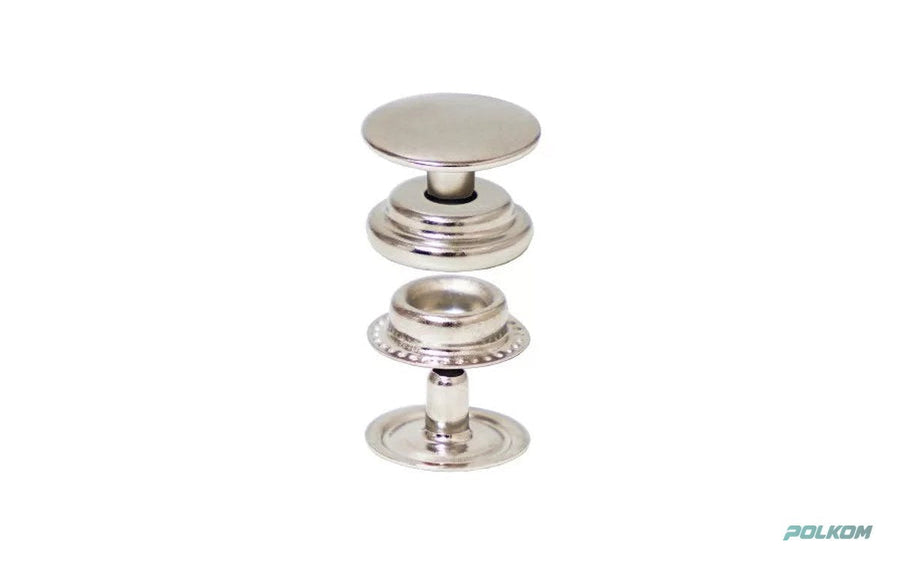
How do you sew on a snap fastener? The male part (with the stud) is sewn to the wrong side of the upper layer, and the female part (with the socket) to the right side of the lower layer, directly opposite it. Each part is secured with several stitches through each hole, without the thread passing through the face of the upper fabric. The position of the second part is marked by pressing the stud of the already sewn male part onto the lower layer.
What you need
- sew-on snap fasteners in a suitable size;
- a hand-sewing needle with a fine eye;
- strong polyester or cotton thread in the colour of the fabric – see our threads;
- pins, chalk or a washable marker;
- a thimble – for thick fabrics;
- a piece of interfacing for thin and stretch fabrics.
How to sew on a snap fastener – step by step
1. Decide which part goes where
The rule is simple: the male part goes on the upper layer (the one that overlaps), on its inner side. The female part goes on the lower layer, on the right side. That way, when fastened, the stud enters the socket and the upper layer covers everything. If you swap the parts, the fastener will still work, but the socket will show when the garment is open and will catch on the fabric.
2. Mark the position of the male part
Mark the point about 3–5 mm from the edge of the upper layer, depending on the size of the snap. The edge of the snap must not extend beyond the edge of the fabric, otherwise it will show.
3. Sew on the male part
Make a small knot or anchoring stitch where the centre will be. Place the snap and pass the needle through the first hole, catching only the top threads of the fabric or hem, without going through to the right side. Make 4–6 stitches through each hole. Between holes, run the thread under the snap, not over it, so that the stitching is clean.
4. Mark the position of the female part
Close the garment exactly as it will be worn. Press the stud of the sewn male part onto the lower layer – it leaves a light impression. Another way is to rub the tip of the stud with chalk. Put a pin into the mark so that it is not lost.
5. Sew on the female part
Centre the socket over the mark and sew it in the same way. Here the thread may pass through all layers of the lower part, as it is hidden under the upper one.
6. Secure and check
Finish with a knot on the wrong side and hide the thread end between the layers. Fasten and unfasten a few times. The snap should click clearly and the fabric around it should not pucker.
How many stitches and which thread
| Snap size | Stitches per hole | Thread |
|---|---|---|
| Small (lingerie, babywear) | 3–4 | Fine polyester |
| Medium (dresses, blouses) | 4–5 | Standard polyester |
| Large (coats, jackets) | 5–6 or double thread | Strong polyester or silk |
The thread should match the fabric, not the snap – that way the stitching is not visible even from the inside.
Blanket stitch for a stronger hold
Experienced sewers use a blanket (buttonhole) stitch at each hole: the needle comes up in the hole, the thread is wrapped around it and pulled tight. This forms a small chain along the edge of the hole, which is stronger and neater than an ordinary stitch. The method is especially useful for large snap fasteners on coats.
How to sew a snap fastener on thin and stretch fabric
On chiffon, silk, knit and jersey, first fuse a small piece of interfacing on the inside or sew on a small square of tape. It spreads the load and prevents the fabric from pulling or tearing. Use a fine needle and small plastic snaps, which are lighter.
Snap fasteners in series production
In the factory, positions are marked with a template so that the two parts match on every size. Sew-on snap fasteners are usually sewn by hand, but for large runs there are also button-sewing machines with a suitable attachment. During inspection, check that the two parts are aligned, that they click with the same force and that the thread is secured.
How many snap fasteners to use
The number depends on the length of the opening and the load. On a placket or a dress opening, snaps are placed at equal intervals, usually a few centimetres apart, so that the fabric between them does not gape. On a coat, one large snap on the inner overlap and another on the lapel are often enough. On lingerie and babywear the spacing is smaller and the snaps are miniature. If the fabric between two snaps opens when moving, add another one rather than increasing the size.
Common mistakes
- Parts swapped – the socket shows when the garment is open.
- Thread passed through the face of the upper layer – visible stitches.
- Inaccurate marking – the garment twists when fastened.
- Too few stitches – the snap tears off at the first pull.
- No reinforcement on thin fabric – the fabric tears around the snap.
How to replace a snap fastener
If a snap has come off or is damaged, carefully cut the old stitches with a seam ripper without damaging the fabric. Sew the new snap in the same place, using the old holes in the fabric as a guide. Replace both parts together if you are not sure that the new half is the same model – different manufacturers use different studs and sockets.
Snap fasteners for your production
In the sew-on snap fasteners category you will find metal and plastic models in different sizes. If you need a flat fastening for a neckline or waistband, see also the wire hooks and eyes. Polkom is a manufacturer with over 30 years of experience – send an inquiry for samples via the contact page.