Manufacturer · Fashion & Home Accessories


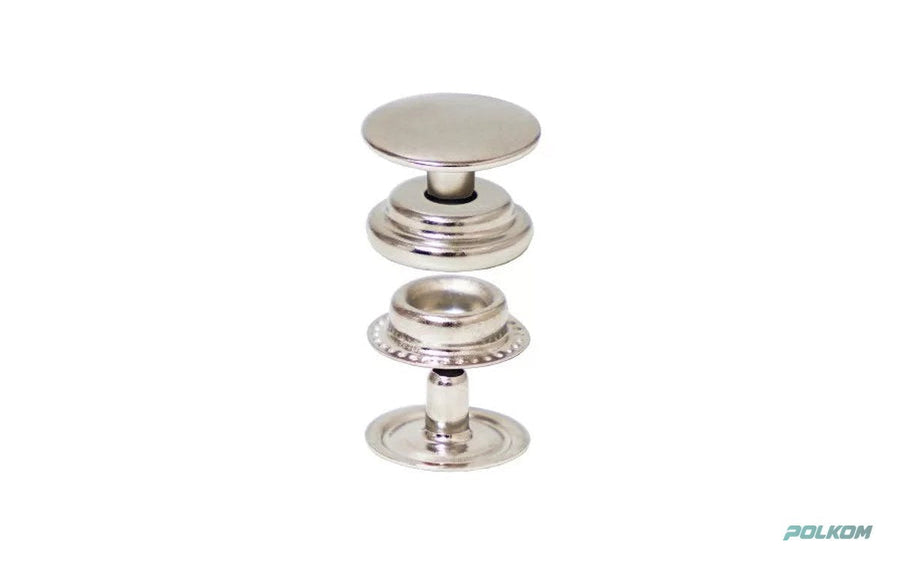
The most common mistakes when setting rivets are the wrong pin length, a wrong or worn die, incorrect press force and no backing behind the rivet. They lead to loose or spinning rivets, bent pins, scratched caps and torn fabric. Almost all of them can be prevented with a trial on the real material before the production run.
Why rivet setting mistakes are expensive
The rivet is set at one of the last stages of sewing, when fabric, labour and other accessories have already gone into the product. A wrongly set rivet cannot simply be unfastened – it has to be cut out, leaving a hole behind. That is why one defect often means a rejected garment. With runs of hundreds of pieces, a small mistake in the settings multiplies quickly.
Mistake 1: The rivet spins
Causes: a pin too short for the thickness of the fabric stack, insufficient press force, a hole that is too wide or a die that does not spread the pin evenly.
Solution: measure the real fabric stack at the riveting point and choose a pin of suitable length. Check the press setting and make sure the hole is narrower than the pin.
Mistake 2: Bent pin and crooked cap
Causes: a pin that is too long, inaccurate centring of the upper and lower dies, the piece not placed perpendicularly.
Solution: choose a shorter pin, check the alignment of the dies and use a guide or template for positioning.
Mistake 3: Scratched or crushed cap
Causes: a dirty or worn die, a die for a different cap profile, excessive pressure, and with embossed logos a die that presses on the relief.
Solution: clean the die, check that it is for the specific style and reduce the force. For logo rivets, use a die with a recess that protects the relief.
Mistake 4: The fabric tears around the rivet
Causes: thin or stretchy material without interfacing, a cap too small for the load, the rivet too close to the edge.
Solution: interface the area on the inside, choose a larger cap or back and move the position in from the edge.
Mistake 5: The pin cuts the seam
Cause: the position was marked right on the stitch line.
Solution: place the rivet 2–3 mm from the end of the seam so that it locks the tension without cutting the thread. Use a template for each size.
Mistake 6: The finish changes after washing
Causes: the sample was not tested with the real wash recipe, and the chemicals react with the metal or lacquer.
Solution: before the run, wash trial garments with rivets attached using the same process – stone, enzyme or bleach. On light fabrics, check for stains around the rivet.
Mistake 7: Different tones on the metal details
Causes: the rivets, buttons and zip come from different suppliers or batches.
Solution: order the metal details as a set and compare the tone with an approved sample in daylight.
Mistake 8: A rivet in the wrong place
Causes: the position was chosen for design reasons only, without thinking about wear – rivets on back pockets, on the seat or in places that are leaned against.
Solution: consider comfort and the risks to furniture and seats. Where reinforcement without visible metal is needed, use a bartack or a hidden rivet covered with fabric.
Mistake 9: Mixing styles in production
Causes: caps and backs with different pin lengths or different profiles are in one container, and the operator cannot tell them apart visually.
Solution: keep each style in a separate, labelled container, and clean the workstation when changing styles. Store the dies together with a sample of the corresponding rivet.
How to spot the problem in time
Most defects are visible in the very first products if you know what to look for. After every change of style, die or fabric, check the first few pieces: turn the cap with your fingers, pull the fabric around the rivet and look at the inside for sharp edges and cracks. If you work in shifts, introduce a quick check at the start of each shift. That minute of inspection saves hours of rework and rejected garments.
Summary: causes and solutions
| Problem | Most common cause | What to do |
|---|---|---|
| Spinning rivet | Short pin, weak pressure | Longer pin, check the press |
| Bent pin | Long pin, poor alignment | Shorter pin, centring |
| Scratched cap | Dirty or wrong die | Cleaning, the correct die |
| Torn fabric | No interfacing | Interfacing, a larger back |
| Cut seam | Wrong position | Template, distance from the seam |
| Changed finish | No wash test | Trial wash |
Mistake 10: The wrong tool for the volume
Cause: a manual kit with a hammer or pliers is used for a run that needs a press. Force and centring vary from piece to piece.
Solution: for series production, use a bench, foot-operated or pneumatic press with an exact die. Keep hand tools for repairs and one-off items.
Prevention: checklist before the run
- Rivets and die of the same style, checked together.
- Pin tested on the real fabric stack.
- Position templates for each size.
- Trial wash of garments with rivets.
- Tone compared with the buttons and zip.
- Operator briefing and separation of rejects.
The same logic applies to eyelets and snap buttons, which are set with similar presses.
Rivets tested before the run
In the rivets category you will find styles for denim, workwear and bags. Polkom is a Bulgarian manufacturer of accessories, with over 30 years of experience – we prepare samples so that you can test setting and washing before ordering the run. All our metal finishes are nickel free. Send an inquiry with the style, fabric and finish via the contact page.