Manufacturer · Fashion & Home Accessories
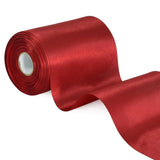

Binding seams with herringbone tape means that the raw edge of the seam allowance is wrapped in a narrow tape folded in half and stitched down. This stops the edge fraying, makes the inside of the product look clean and tidy, and strengthens the seam. The technique is a classic for unlined jackets, bags, trousers and workwear.
When seam binding is better than overlocking
Overlocking is fast and cheap, but not always suitable. Binding with tape is the better choice when:
- the inside is visible – an open unlined jacket, overshirt, waistcoat, half-lined blazer;
- the fabric is thick – denim, corduroy, wool, canvas, where overlocking leaves a bulky, uneven edge;
- the product carries a load – seams on bags and backpacks, where the tape adds strength;
- the fabric frays heavily – loose weaves and bouclé, where overlocking does not hold the threads well enough;
- the brand wants a signature detail – a contrasting tape colour or tape with a printed text inside the product.
Which tape to choose
| Product | Tape width (before folding) | Material |
|---|---|---|
| Shirts, light jackets | 12–15 mm | Cotton or blend |
| Denim and work jackets, trousers | 15–20 mm | Cotton, blend or polyester |
| Unlined coats and blazers | 15–20 mm | Cotton or blend |
| Bags, backpacks, totes | 20–25 mm | Polyester or blend |
| Canvas and technical products | 25–30 mm | Polyester |
Folded in half, the tape should cover the edge of the allowance by at least 4–6 mm on each side to catch all layers securely. The full range of widths is in the herringbone tape category.
Technique – step by step
Preparation
- Sew the main seam and trim the allowance evenly – an uneven edge shows through the binding.
- Press the allowance: open, if you will bind the two edges separately, or to one side, if you will wrap them together.
- Press the tape in half lengthwise or use a binder attachment on the machine.
Sewing
- Wrap the edge with the tape so it sits against the fold.
- Stitch 1–2 mm from the edge of the tape, checking that the stitching catches the underside too.
- Sew with a light hold, without stretching the tape, otherwise the seam will pucker.
- At the end leave 1–2 cm of tape, tuck it in and close with a few stitches.
With a binder in production
In series production, binding is done with a binder mounted in front of the needle. The tape runs through it, folds automatically and wraps the edge in a single operation. This requires a tape of consistent width along the whole roll – even a millimetre’s deviation makes the underside slip out. So when ordering for a binder, specify the width and tolerance.
Corners, curves and intersecting seams
- Curves (armholes, pockets): the twill weave lets the tape follow gentle curves. Shape it in advance with steam.
- Outside corners: stop at the corner, fold the tape at 45° (mitre) and continue. This keeps the corner clean and free of lumps.
- Intersecting seams: bind the shorter seam first, then join and bind the long one. Watch the bulk at the intersection.
Binding seams in bags and backpacks
In bags, inside seams are often sewn through several thick layers – main fabric, lining and padding. Here the tape has a double role: it encloses all the edges and adds strength where the bag bends and carries weight. Use a wider polyester tape, a larger needle and a longer stitch. Before the run, sew a test seam through the actual number of layers and check that the machine catches the tape evenly along the whole length, especially at the base corners.
Thread and colour
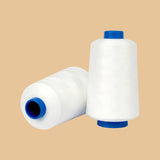
For visible binding, choose thread in the colour of the tape, not the fabric. Bags and workwear use a heavier polyester thread that withstands load. Suitable options are in the threads category.
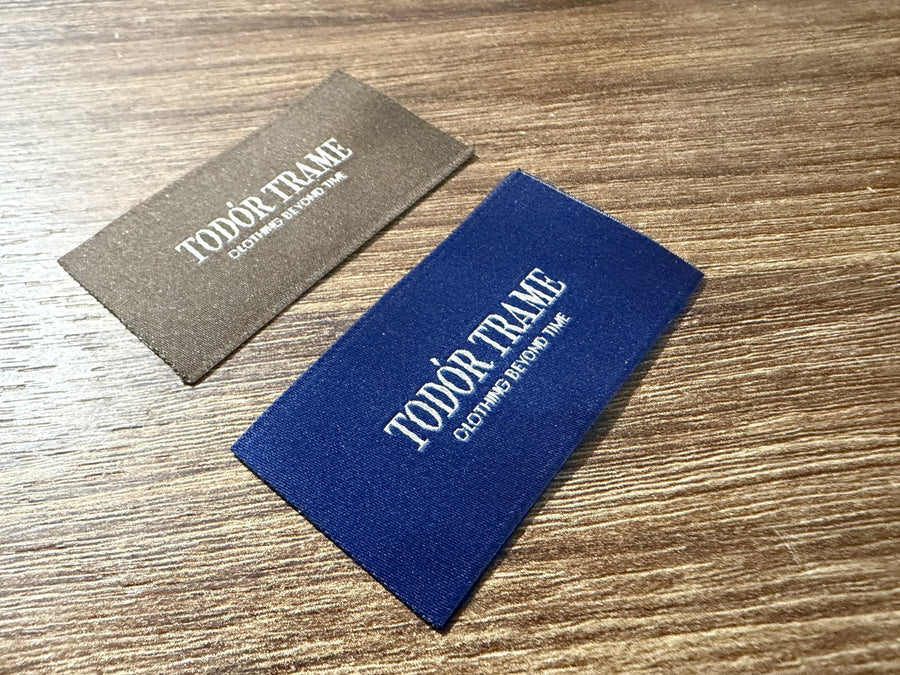
The tape colour can be tone-on-tone with the fabric or contrasting. Contrast binding inside a jacket is a typical premium-brand detail, and tape with a printed text turns the inside seam into a brand element.
Herringbone, grosgrain or bias binding
For straight seams and a stable edge, herringbone tape is the most practical: strong, non-stretch and does not pucker. Bias binding is cut on the bias and bends more easily around tight curves, but is softer and less durable. Grosgrain ribbon has crosswise ribs and a more refined look – it is used when the binding is visible and must look smart, for example on the edges of hats and jackets.
Common mistakes
- Tape too narrow – the underside is not caught and the binding opens.
- Stretching the tape while sewing – the seam puckers and does not lie flat.
- Cotton tape on synthetic fabric without pre-shrinking – after washing the binding shortens the seam.
- Untrimmed allowance – unevenness shows through the tape.
- Thread in the fabric colour on a contrasting tape – the stitches look like spots.
Checking the finished binding
Bend the seam and look at it from both sides: the stitching should have caught the underside of the tape along the whole length, with no gaps. Wash a sample to check the shrinkage and colour fastness of the tape relative to the fabric.
Herringbone tape from Polkom
Polkom is a Bulgarian manufacturer of haberdashery for apparel. We supply herringbone tape for binding in consistent widths suitable for binders, in cotton, polyester and blends, in Pantone colours and with the option of a printed logo. We work with brands and garment factories across the EU. Minimum quantities depend on the item. Request samples and a quote via the contact page.