Manufacturer · Fashion & Home Accessories
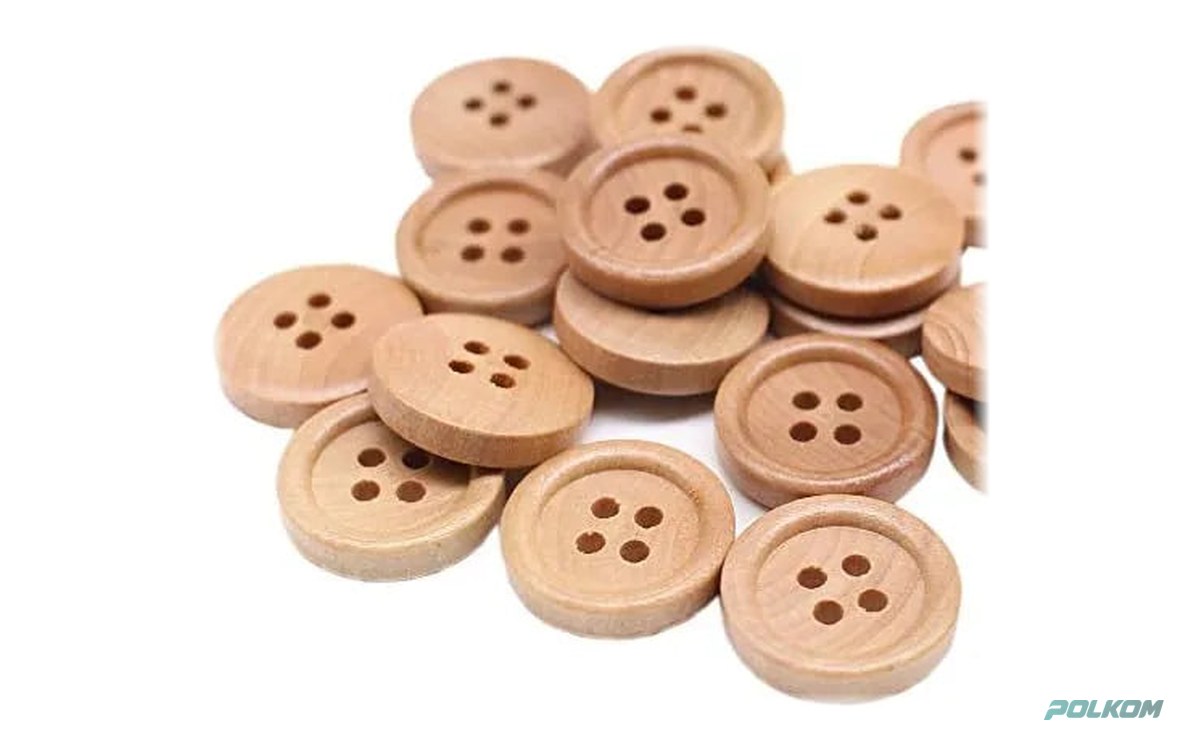
Sewing buttons with a home sewing machine is possible for buttons with 2 or 4 holes: attach a button foot, lower the feed dogs, set a zigzag stitch with zero length and width matching the distance between the holes, and sew 8–10 stitches. Buttons with shanks, very heavy buttons, and delicate fabrics are better sewn by hand. Below are the steps, settings, and common mistakes.
What you need to sew buttons with a machine
- Button foot – a short foot with a rubber or textured pad that holds the button firmly. Many machines include it; if not, some models allow sewing without it, just by pressing the presser foot down.
- Feed dog lowering or a cover plate. The fabric must not move while sewing.
- Zigzag stitch with adjustable width. Some machines have a dedicated button sewing program.
- New needle suitable for the fabric and strong polyester thread.
- Toothpick, pin, or thick needle – for creating a thread shank.
- Fabric tape or glue – for temporarily fixing the button in place.
Step by step: how to sew a button with a sewing machine
- Mark the spot. Fasten the buttonhole on the opposite placket and mark the button centre with chalk or a pin.
- Lower the feed dogs and set stitch length to zero.
- Attach the button foot.
- Position the button on the mark, aligning the holes parallel to the zigzag direction. You can fix it with a small piece of tape.
- Set the width. Choose zigzag and set the width approximately equal to the distance between the hole centres.
- Check with the handwheel. Slowly turn the handwheel and ensure the needle enters exactly into the left, then the right hole without hitting the button. Adjust width if needed.
- Sew 8–10 stitches at low speed.
- Lock the stitch. If your machine has a locking stitch, use it with zero width on one of the holes. Otherwise, leave long thread tails.
- Pull the threads to the back side, tie a knot, and hide the ends between the fabric layers.
Four-hole buttons
Sew the first pair of holes, lift the foot, move the fabric so the second pair is under the needle, and repeat. Do not cut the thread between pairs – leave it longer and trim at the end. For a cross pattern, rotate the button diagonally, but then set a wider zigzag because the diagonal distance is longer.
Button sewing program on computerized machines
Many computerized sewing machines have a ready button sewing program. It makes a set number of zigzag stitches, locks the thread, and stops. Width is set in millimetres, and some models allow choosing the number of repetitions. The advantage is consistent results on all buttons of the garment. However, this program does not replace checking with the handwheel – the standard width may not fit every button, especially smaller ones. Save your settings if you will sew identical buttons on other garments.
How to leave a thread shank
If you sew the button tightly to the fabric, the buttonhole placket has no space and the garment puckers. Especially for jackets, vests, and coats, a thread shank – a small gap between button and fabric – is needed.
- Place a toothpick or thick needle on the button, between two holes, parallel to the buttonhole. Some button feet have a built-in adjustable pin for this purpose.
- Sew over the toothpick – the thread passes over it, creating loose loops.
- Remove the toothpick and pull the button up to tighten the loops.
- With the upper thread pulled to the front, wrap the loops under the button several times and secure with a hand needle.
The shank thickness should be about the same as the fabric plus buttonhole thickness.
Settings depending on fabric and button
| Situation | Recommendation |
|---|---|
| Thin shirt, poplin | smaller needle size, no thread shank, 6–8 stitches |
| Knitwear | needle with rounded tip, reinforce with a small backing piece |
| Denim and heavy fabrics | thicker needle, 10–12 stitches, thread shank |
| Small collar button | very precise width, slow speed, check with handwheel |
| Large coat button | better sewn by hand, with backing button inside |
When hand sewing buttons is better
- Buttons with shanks. Home machines cannot sew through the shank eye.
- Heavy coats and leather goods. Require backing buttons and longer thread shanks, better controlled by hand sewing.
- Delicate buttons. Mother-of-pearl, horn, and buttons with stones can crack from needle impact.
- One or two buttons. Machine setup takes more time than hand sewing.
- Very thick holes or uneven spacing. Natural buttons vary in hole size and spacing, so the machine may miss.
Common mistakes
- Forgetting to lower the feed dogs – fabric pulls and stitches miss the holes;
- Unchecked zigzag width – needle hits and breaks on the button;
- Too high speed – button shifts;
- Short thread tails – stitches unravel after first wash;
- No thread shank on thick fabrics.
For home projects, the easiest buttons to sew by machine are flat polyester buttons with clear, even holes – see polyester buttons. Suitable thread is available in sewing threads.
Buttons for ateliers and workshops
Polkom is a manufacturer of accessories for fashion, footwear, bags, perfumes and cosmetics, packaging, and furniture accessories, with over 30 years of experience and headquarters in Sofia. We offer buttons in all sizes and materials for ateliers, small brands, and sewing workshops, all OEKO-TEX® certified. Send us your fabric or model in a request – we will help you choose buttons that sew easily and look great.