Manufacturer · Fashion & Home Accessories


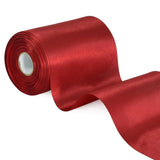

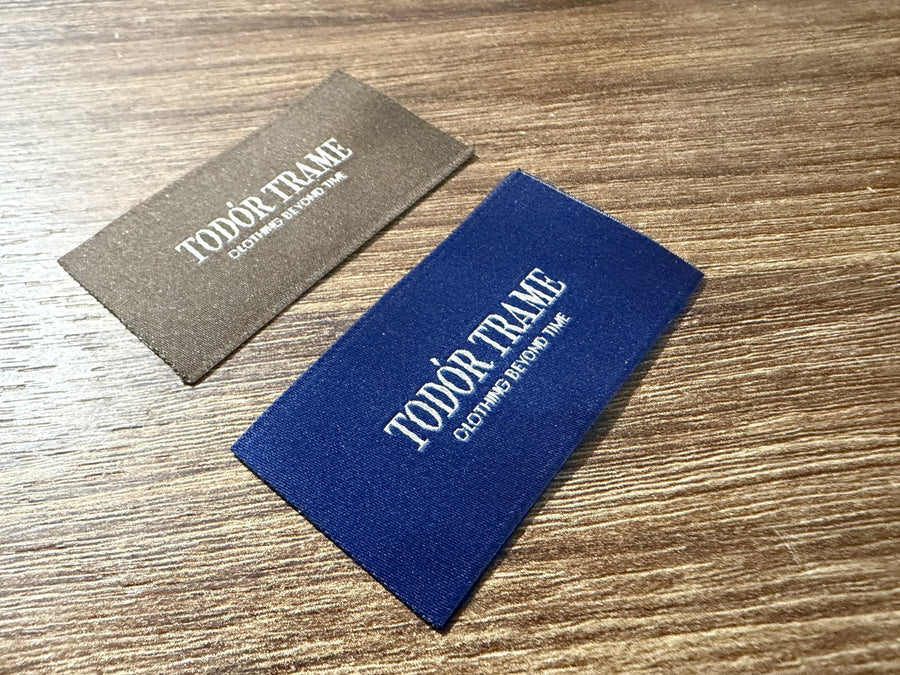
Heat transfer labels are textile labels with heat-activated adhesive on the back, which are attached to garments using an iron or heat press. The label is placed adhesive-side down on the fabric, covered with baking paper or a thin cloth, and pressed with a hot iron without steam for a specified time. They adhere best to smooth cotton and blended fabrics; they are not suitable for materials that cannot withstand high temperatures.
How Heat Transfer Labels Work
The heat adhesive is a layer that is solid at room temperature. When heated, it melts and penetrates between the fabric fibres. Upon cooling, the adhesive hardens again, mechanically bonding the label to the fabric. Therefore, three factors are crucial: sufficient temperature, adequate pressure, and enough time. If any of these are missing, the adhesive only sticks superficially, and the label will peel off after the first wash.
What You Need
- Iron without steam or a heat press;
- A hard, flat surface – a table with several layers of fabric, not a soft ironing board;
- Baking paper or a thin cotton cloth for protection;
- The garment itself – clean, free of softener, and ironed.
Heat Transfer Labels: Step-by-Step Application
- Prepare the fabric. New garments often have finishing that interferes with the adhesive. Wash them at least once without fabric softener and iron the area where the label will be applied.
- Heat the iron. Turn off steam. The temperature should follow the label manufacturer's recommendation – usually the cotton setting. Do not exceed the fabric’s maximum temperature.
- Position the label adhesive side down, smooth and wrinkle-free.
- Cover with baking paper or a thin cloth.
- Press the iron firmly and steadily for the recommended time. Do not move the iron back and forth – this shifts the label. For labels larger than the iron plate, press in sections.
- Turn the garment over and press for a few more seconds from the reverse side – heat reaches the adhesive from both sides.
- Let it cool completely without touching. Check the corners – if any lift, repeat pressing.
- Wait at least 24 hours before the first wash.
Iron or Heat Press
| Iron | Heat Press | |
|---|---|---|
| Temperature | Uneven, approximate | Precisely controlled |
| Pressure | Depends on user | Even, adjustable |
| Time | Manually timed | Timer |
| Suitable for | Single pieces, home use | Batch production in workshop |
For serial production, a heat press is essential – it guarantees consistent results on every piece.
Suitable Fabrics
- Very good: cotton, linen, polyester and blends, denim, dense knitwear.
- With caution: thin knitwear (adhesive may show through), elastic fabrics with elastane (label may crack when stretched).
- Not suitable: coated nylon, water-repellent and membrane fabrics, leather, faux leather, silk, wool, terry cloth, and plush with long pile.
Always test first on a fabric scrap or a hidden area.
How to Ensure Washing Durability
- Wash the garment inside out.
- Avoid very high temperatures and harsh detergents.
- Do not use a tumble dryer or use it on low heat – high temperature softens the adhesive.
- Do not iron directly on the label.
- If a corner starts to lift, repress with an iron through paper.
Combining Heat Application and Sewing
Many brands and parents use the best of both methods: the label is heat-applied for precise and smooth positioning, then secured with a few stitches at the edges. This way, even if the adhesive weakens after many washes, the label stays in place. Textile labels with heat adhesive are convenient for this – you can find them in the woven labels section.
Heat Transfer Labels vs. Direct Fabric Printing
Do not confuse: a heat transfer label is a textile strip with adhesive. Printing without a label (transfer on the neck) is an image transferred directly onto the fabric with a press, without a strip. The latter is described in the printed labels section. The choice depends on the product – textile labels are more versatile, while transfers completely eliminate the label feel.
Common Mistakes
- Using steam – moisture hinders the adhesive.
- Soft ironing board – insufficient pressure.
- Moving the iron instead of pressing steadily.
- Washing immediately after application.
- Applying on softened or finished fabric.
- Too high temperature for synthetic fabric – leaves shiny marks.
Heat Transfer Labels in Serial Production
In the workshop, heat transfer labels are applied with a heat press as a separate operation or at the end of production. To ensure uniform results, specify the exact position, temperature, pressure, and time in the model’s technical sheet and verify with test pieces from each new fabric batch. Fabrics from different suppliers behave differently even with the same composition – finishing and density affect the adhesive. It is good practice to wash a control piece from each batch and check the corners. Train operators not to move the garment before the adhesive cools, as the label may shift or wrinkle.
How to Remove a Heat Transfer Label
Warm the label with an iron through paper until the adhesive softens, then slowly peel it off from one corner. Residual adhesive can often be removed by reheating and blotting with paper. On dark and synthetic fabrics, marks may remain, so consider the placement carefully in advance.
Heat Transfer Labels by Polkom
Polkom manufactures custom textile labels with your logo – sew-on and, where suitable, heat-adhesive labels. We will help you assess if heat application suits your fabric, produce a sample for testing, and deliver across the EU. Send your inquiry via Contacts.